 Shopping Cart


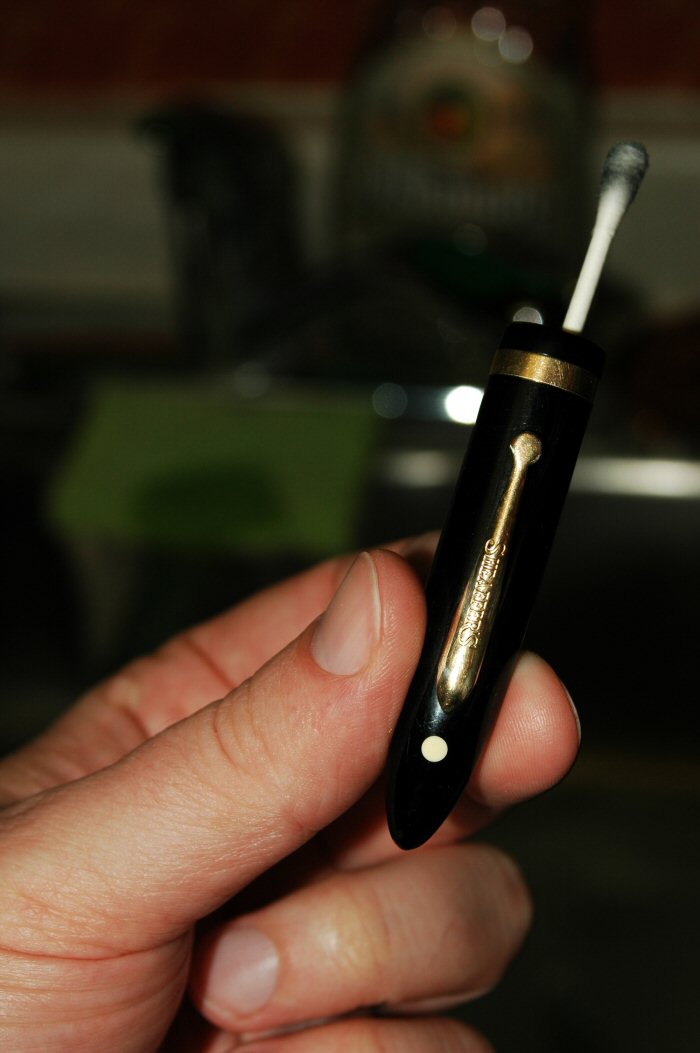
A Q-tip can be one of your best tools for helping to clean out a pen cap and keeping your fingers from getting inky. Even after rinsing this Sheaffer Lifetime cap, you can still see plenty of ink on the cotton.
Periodically flushing your pen with water often helps eliminate leaks as well as helping to get your nib to start writing well, again, as we discussed in Pen Tip #1.
Nevertheless, after you’ve gotten your pen cleaned and filled, you notice that you still have a little or a lot of ink on your fingers the next morning after you’ve decided to write with it.
The trouble often comes from old ink still inside your cap. Even if you rinsed your cap when you flushed your pen, that is not usually nearly enough to get all the old ink out.
Inside the caps of nearly all vintage and modern pens is an inner cap. It usually seals the nib compartment of your cap when the section (writing grip) of your pen screws up and against it. This keeps your pen from drying out. However, as fountain pens are wont to occasionally leak, drip or see some evaporation with heat, ink gets into these inner caps. Worse, it gets between your inner cap and outer cap shell. Once enough accumulates, your fingers are bound to get inked.
Your best bet is to soak your cap overnight in room temperature water.
Are you sensing a theme? Room temperature water and soakings are our friend.
Make sure the whole cap is immersed, and make sure that there is no air trapped inside the cap.
After a good, long soak, shake the cap empty over a sink. This gets messy in a hurry, so be careful.
Your next move is to hold the cap under running room-temperature water from the tap while scrubbing its insides with a small plastic-brissle brush that is like a toothbrush but smaller. Some hardware stores, tobacco shops and gun shops sell ones that work pretty well. I often use a plastic-brissle brush I found in an air rifle cleaning kit. I don’t have an air rifle to clean, but I spent the money just to get that little brush used on the air rifle barrels. Whatever you do, do not use a metal-wire brush used on regular hand guns and rifles. It will tear apart your cap.
Once the ink stops coming out of the cap in the sink, shake out the cap again. Use a Q-tip to dry out the cap. Odds are good that there is still plenty of ink in the cap, and you will go through many Q-tips trying to clean it out. You will have to keep getting Q-tips wet to keep getting the old gunk out. Pay special attention to the cap threads and the lip of the inner cap. Keep cleaning until you are satisfied.
This process takes a while, but if you only have one or two pens you have to do this for, it is worth just doing this to them once every several years. If you are a hardcore collector, we can discuss inner cap pullers and ultrasonic cleaners on another day.
Click here to see the finished restoration of the Sheaffer Lifetime cap in the photo above.
Please write in with your pen repair questions.