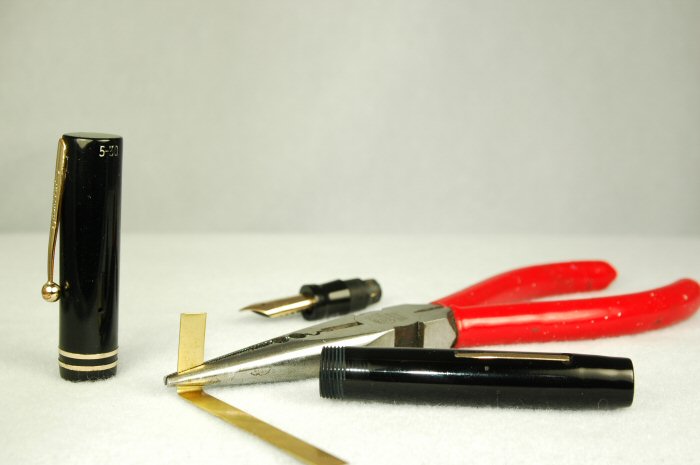
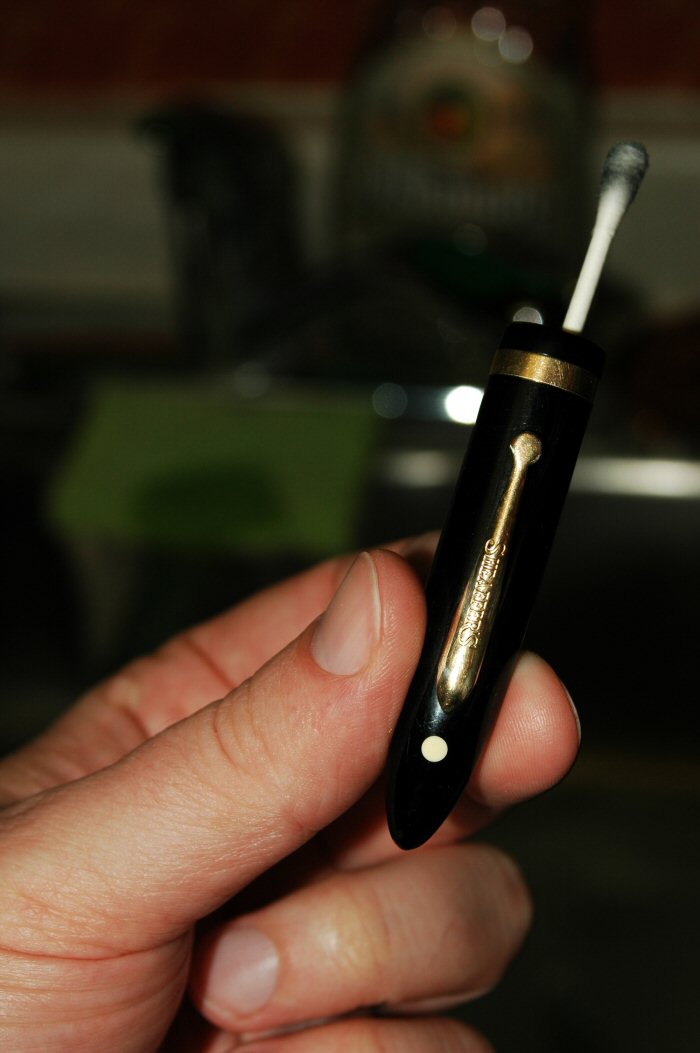
See how the needle nose pliers have started making a box in the end of the brass flashing as I restored this Sheaffer 5-30.
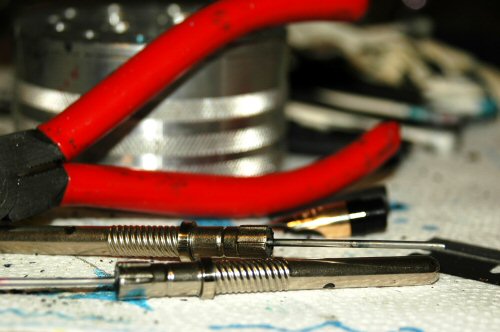
When I first learned the art of fountain pen restoration, there weren’t as many readily available modern replacement “J” pressure bars to fix most standard lever-filling vintage pens. You could try to scavenge J-bars, but they were so old and brittle, they were prone to breaking.
Fortunately, the man who taught me the art of pen repair was a master of improvising repair work. He taught me a lot about do-it-yourself repairs and engineering. As our goal was fully restored pens that worked as good as new, instead of featuring only all original parts, we had a lot of leeway.
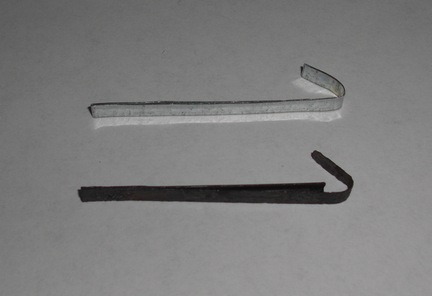
Probably the best and cheapest trick he taught me was to fashion a J-bar out of brass flashing that sells for about a dollar a foot at your local hardware store.

Insert the new pressure bar J first, and make certain the length of the new spring is resting on the lever. Pulling out the new J-bar can risk damaging the lever-filler assembly, so try never to pull the new J-bar if possible.
I suppose you could use steel flashing, but brass has the advantage of not rusting. Either way, be sure to select a very thin piece that has a lot of flexibility. You will also need scissors that can cut it and a pair of needle nose pliers. Once you get everything together at your work bench, follow these steps.
1. Cut the flashing to be the same length as the barrel of the pen you are restoring.
2. Trim the edge of the flashing along its length to get it to fit in the pen barrel. Remember, keep it wide enough to be engaged by the pen’s lever. Some levers don’t push straight down. Some slip to either side. Make sure you cut the flashing so it is wide enough to accomodate this deviation.
3. Test the flashing by inserting it–still straight/unbent–into the barrel to see if it fits well and gives the lever enough space to manuver.
4. Slip the flashing back out of the barrel.
5. Using your needle nose pliers bend one end of the flashing into an arc. You will only want to bend the last 1/4 inch to 1/2. I like to bend the flashing into 2 90-degree angles. This makes a boxy J. It is perfectly fine to make an arched J.
6. Test to make sure the J is just wide enough to slide into the barrel, while also providing enough resistance against the barrel walls to anchor it.
7. MOST IMPORTANT: Before final installation, remember to line up the J-bar J first into the barrel with the outside portion of the pressure bar against the lever.
8. Insert the new pressure bar assembly into the pen with your needle nose pliers. Push it all the way into the tail. Be careful not to push the pliers deeper than they are meant to go into the pen. They can easily split or shatter the barrel.
9. Insert the resac’d section, and make sure it all fits okay. If it doesn’t you can either trim down the sac or pull out the new J-bar with care and trim it to make room. *** It is important to note that many lever fillers have a pin or pin-ring that holds the lever in place. Pulling out the new J-bar can snap or ruin that thin piece of metal holding in the lever, and that is a lot harder to fix.
It is always best to make sure you got all of your cuts measured correctly the first time.
Your new J-bar will likely never be as effective as the old one, but it will fill your pen reasonably well. Plus it will also have saved you plenty in parts and labor. Believe it or not, you’ll feel a lot closer to your pen once you’ve restored its guts on your own.


 Shopping Cart